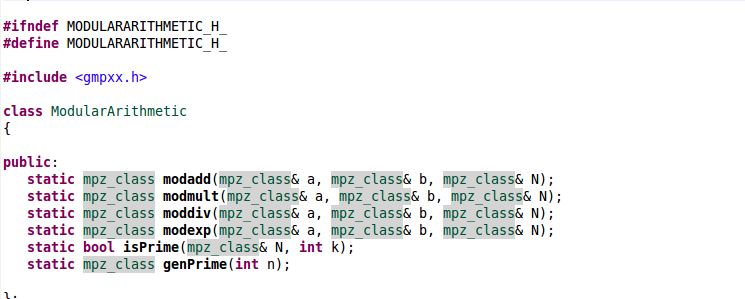
In my Data Structures and Algorithms II class (more like Algorithms and Algorithms class), our professor assigned us to write a RSA encryption program to complement our coursework on modular arithmetic and primality testing. Because we needed large numbers (1024 bits) which would absolutely not fit inside normal primitive data types, we were suggested to use the GMP library for C++, or BigInteger for Java. Being a C++ guy, I choose GMP.
Now, what I found out while writing this lab was that installing GMP was actually harder than writing the program! To cut to the chase, here is how to download and install GMP onto your Ubuntu system. This approach uses the source file downloaded from GMP’s official page and the Ubuntu terminal.
Installing the GMP Library
No pictures today because the instructions are quite simple and straightforward.
- Download the lastest release of GMP from: https://gmplib.org/#DOWNLOAD.
- When you have downloaded the file, extract the contents from the tar.lz file to a temporary folder. I created my temporary folder on my desktop for simplicity’s sake.
- Once extracted, open your terminal and wiggle your way to the temporary folder’s directory. For example, mine would be at
~/Desktop/GMP
If you forgot, the “ls” command displays the list of items in your current directory, and the “cd” command can be used to go to specific locations. “cd ..” can be used to go back to the previous directory.
cd Desktop/GMP
- Once at the directory, type in the command:
./configure
To what I understand, “./configure” will check your system to see if all the dependencies are met, and then create the makefile.
- (Optional) If you are met with the error: No usable M4 in $PATH or /usr5bin, then you need to install the M4 macro processor onto your Ubuntu system. Luckily, doing so is quite easy if you have Internet access. You must have root access as we will be using sudo apt-get:
sudo apt-get install m4
Don’t forget to run “./configure” again once you are done!
- Now you are ready to build the GMP library’s files, awesome! Proceed with the command:
make
Do note that this process may take a few minutes for some computers. For mine (Ubuntu virtualized within Windows), it took me around 3 minutes. The terminal window will start printing out words in supersonic speed. If you have a friend nearby, grab him over so you can tell him you’re hacking GMail’s servers.
- When you are ready to install the library, type in this command:
sudo make install
- GMP’s documentation prompts us to check to see if our installing was correct. To do so:
make check
If no errors show up, congratulations. You now have GMP installed!
29 thoughts on “How To Install the GMP Library on Ubuntu”
Leave a Reply Cancel reply
This site uses Akismet to reduce spam. Learn how your comment data is processed.
Thanks dude …. such a wonderful post. it really help me a lot.
Thank you Kevin for extending the help. It was really a nice post
This post was useful to me. Sometimes people don’t have enough time to go into the details, making guides like this valuable.
Awesome. Very helpful. Thanks!
This was one of the most useful and funny post about these subjects. Thank you dude 🙂
Thank you so much.
Thanks. such a wonderful post. it really help me a lot.
Thanks this was helpful
I think you may forget –enable-cxx option when typing in the command ./configure, if you wants to use GMP in C++ codes 🙂
good point, this should probably be in the OP.
Thank you for mentioning this crucial detail!
./configure -enable-cxx
Thank you, made it easy!
Thanks you so much Kevin. It was helpful.
it was very useful post
Thank you! I love you,Kevin! You help me a lot C:
Wonderful. It works. I use R programming. The GMP library installation showing error there. But after installing the GMP library as per your instruction, I’ve installed gmp in R successfully.
Thanks for your deep and system-level suggestions.
wonderful post ! thanks Kevin !
Hey where do all the gmp files gets stored.
I need to access it’s library
Thank you very much….
Thank You so much for this post!!! 🙂
Thank you, Kevin. You helped me a lot.
dude you are the best!
Great tutorial .. Thanks a lot
Still worked for me on Dec. 28, 2018! Thx man
thank you
Please let me know After installing what I have to write in INCLUDEPATH or in LIBS path?
Thank you for the step by step instructions. Much appreciated
I am using Ubuntu Single user system and I needed to use
sudo make install
to get the .h files made and moved to the usr … libraries
All working well. Thankyou for the step-by-step instructions.
Greatly appreciated
Thanks a lot for the post